Think it’s impossible to grow your own food in a small space? Think again!
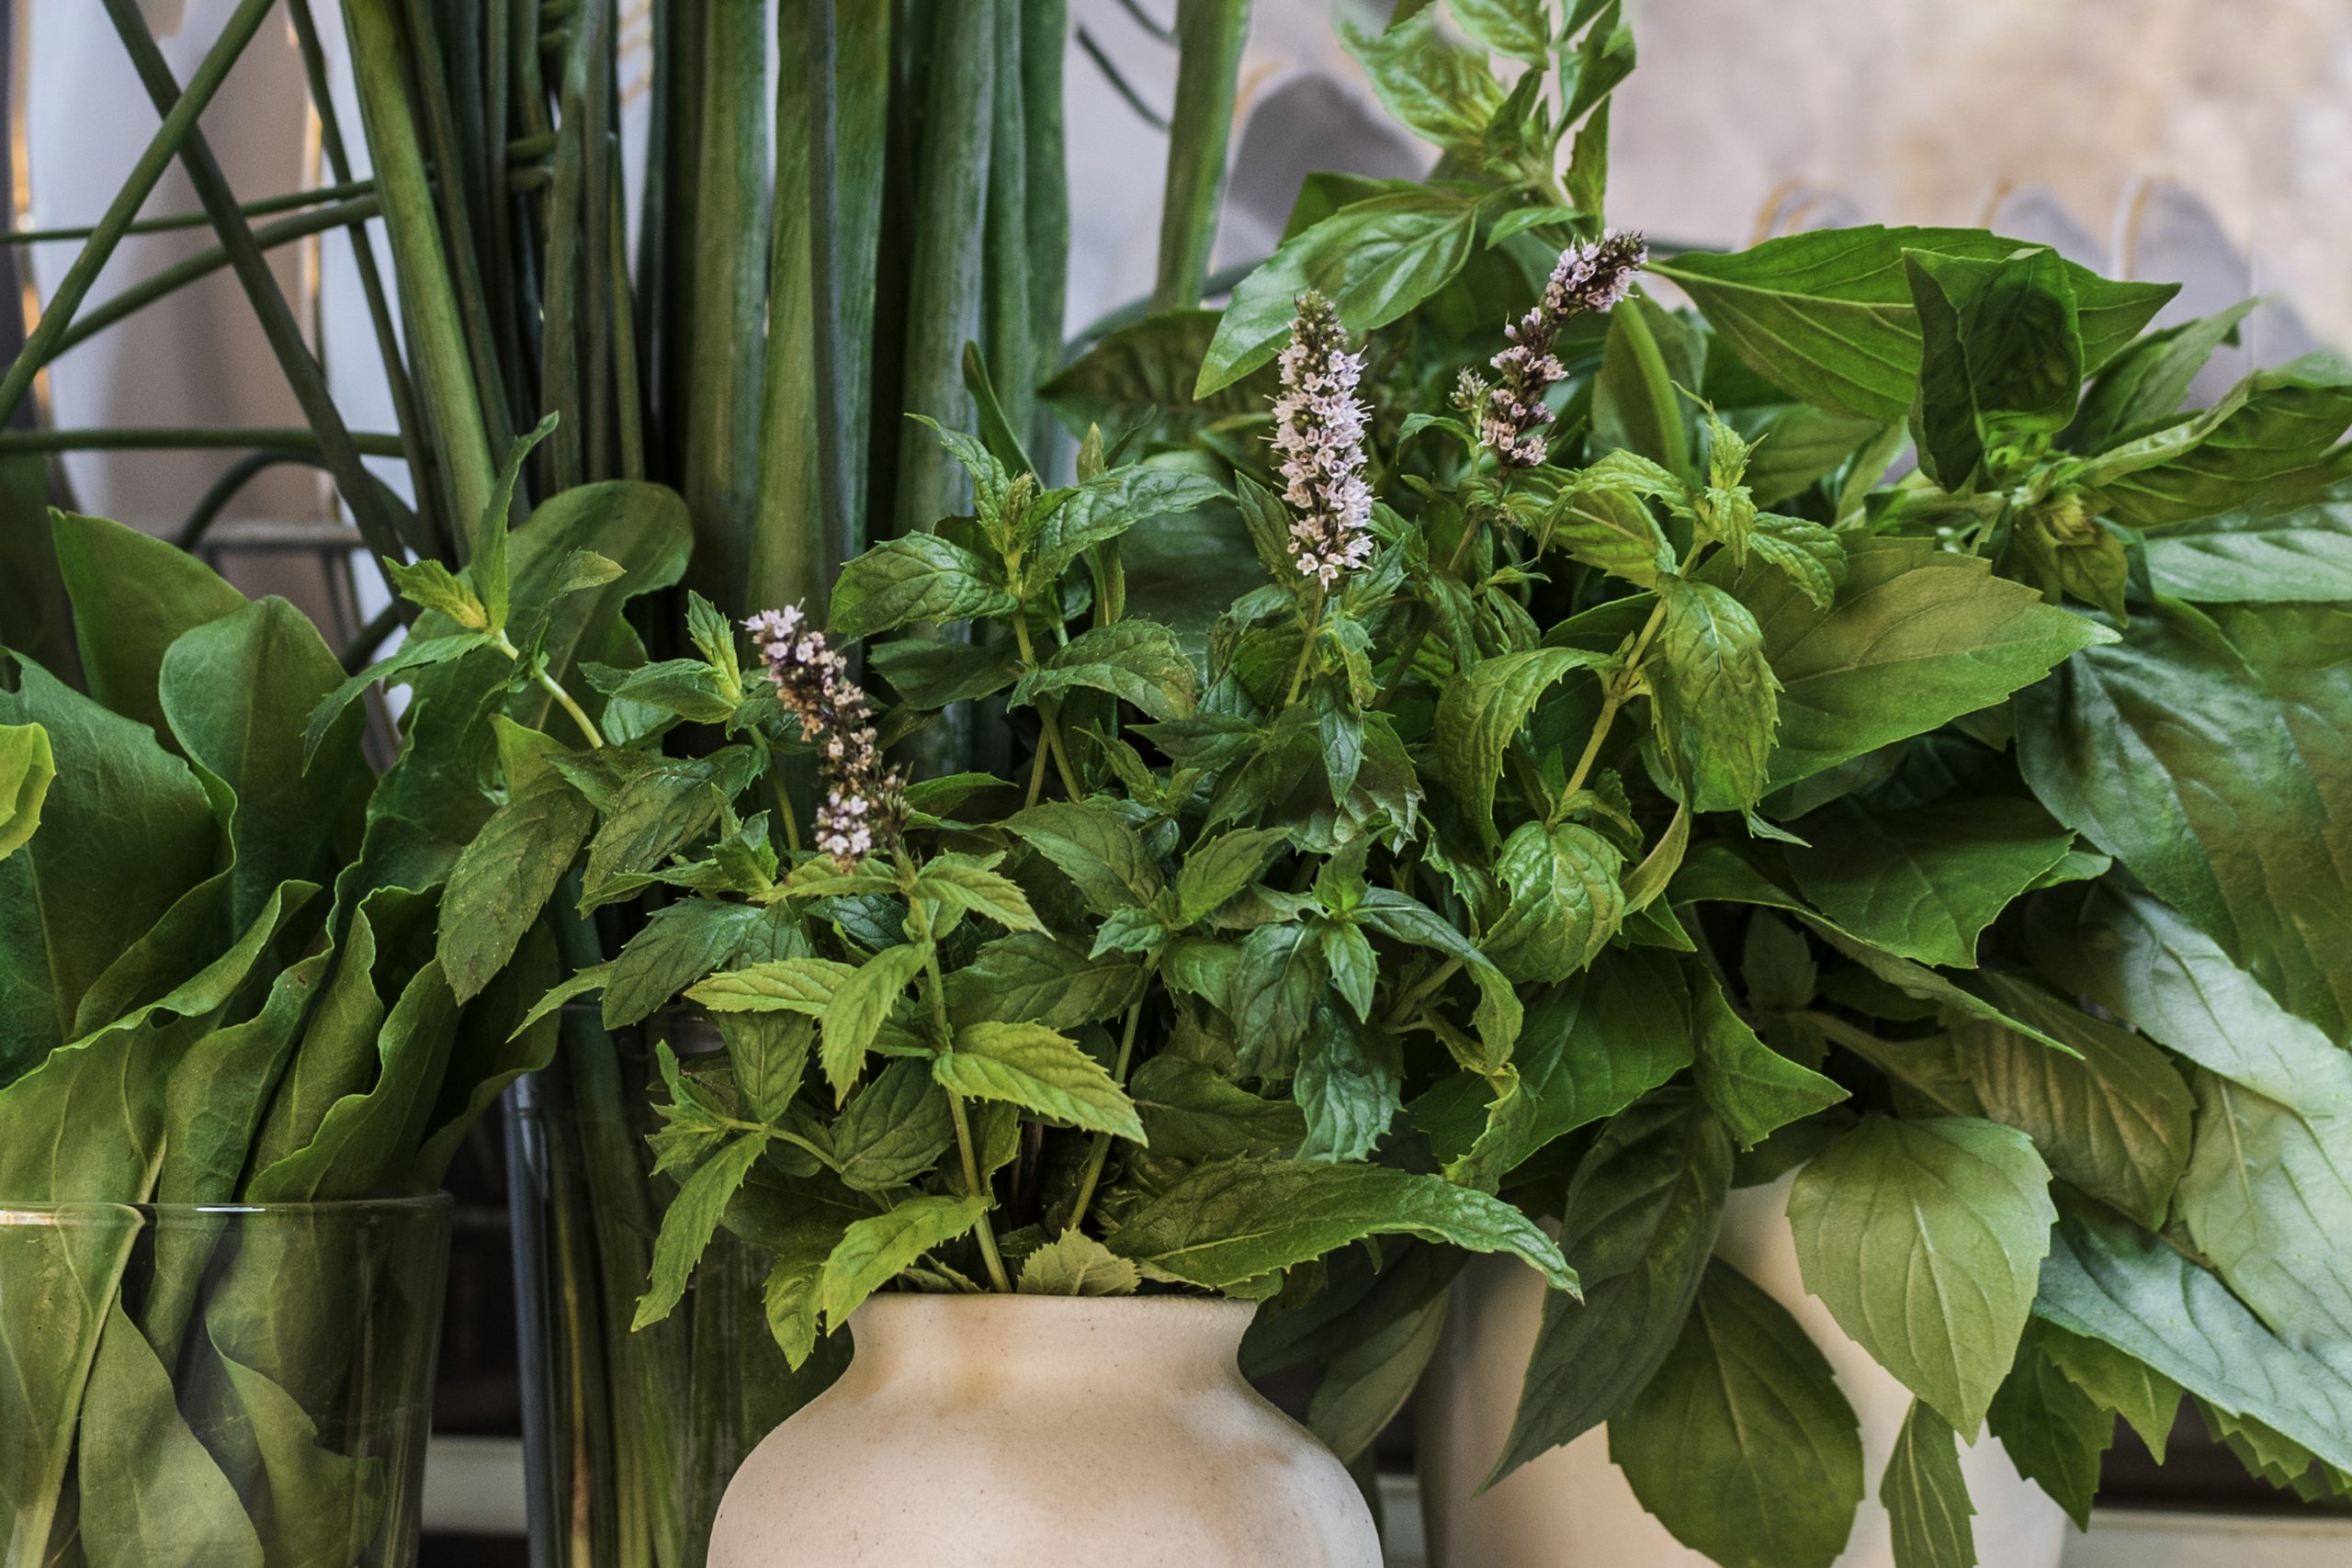
While the average home or apartment won’t suit indoor food plants like citrus, raspberries, bananas, or tomato plants, think instead about growing something much smaller and simpler: microgreens, for example.
If you’re a beginning grower, microgreens are a really nice place to start— especially since just about anyone can grow them (yes, even kids can grow them, too). They can also help you practice your green thumb if you’re not all that confident with gardening, and bring fresh, healthy food to your family’s table.
But why start out with microgreens?
Well, there are a lot of reasons. A few right off the bat: microgreens are small (it’s in the name, after all) and easy to take care of. Plus, they’re relatively easy to grow!
Microgreens can truly be grown just about anywhere, just as long as you have the right tools— and it doesn’t matter whether you live in a studio apartment, a spacious suburban house, or a college dorm room. They’re also incredibly nutrient-dense and great for your health, too.
Craving healthy eating and fresh greens? Eager to get started? Read on to learn everything you need to know in this quick yet thorough guide to growing microgreens.
What are microgreens?

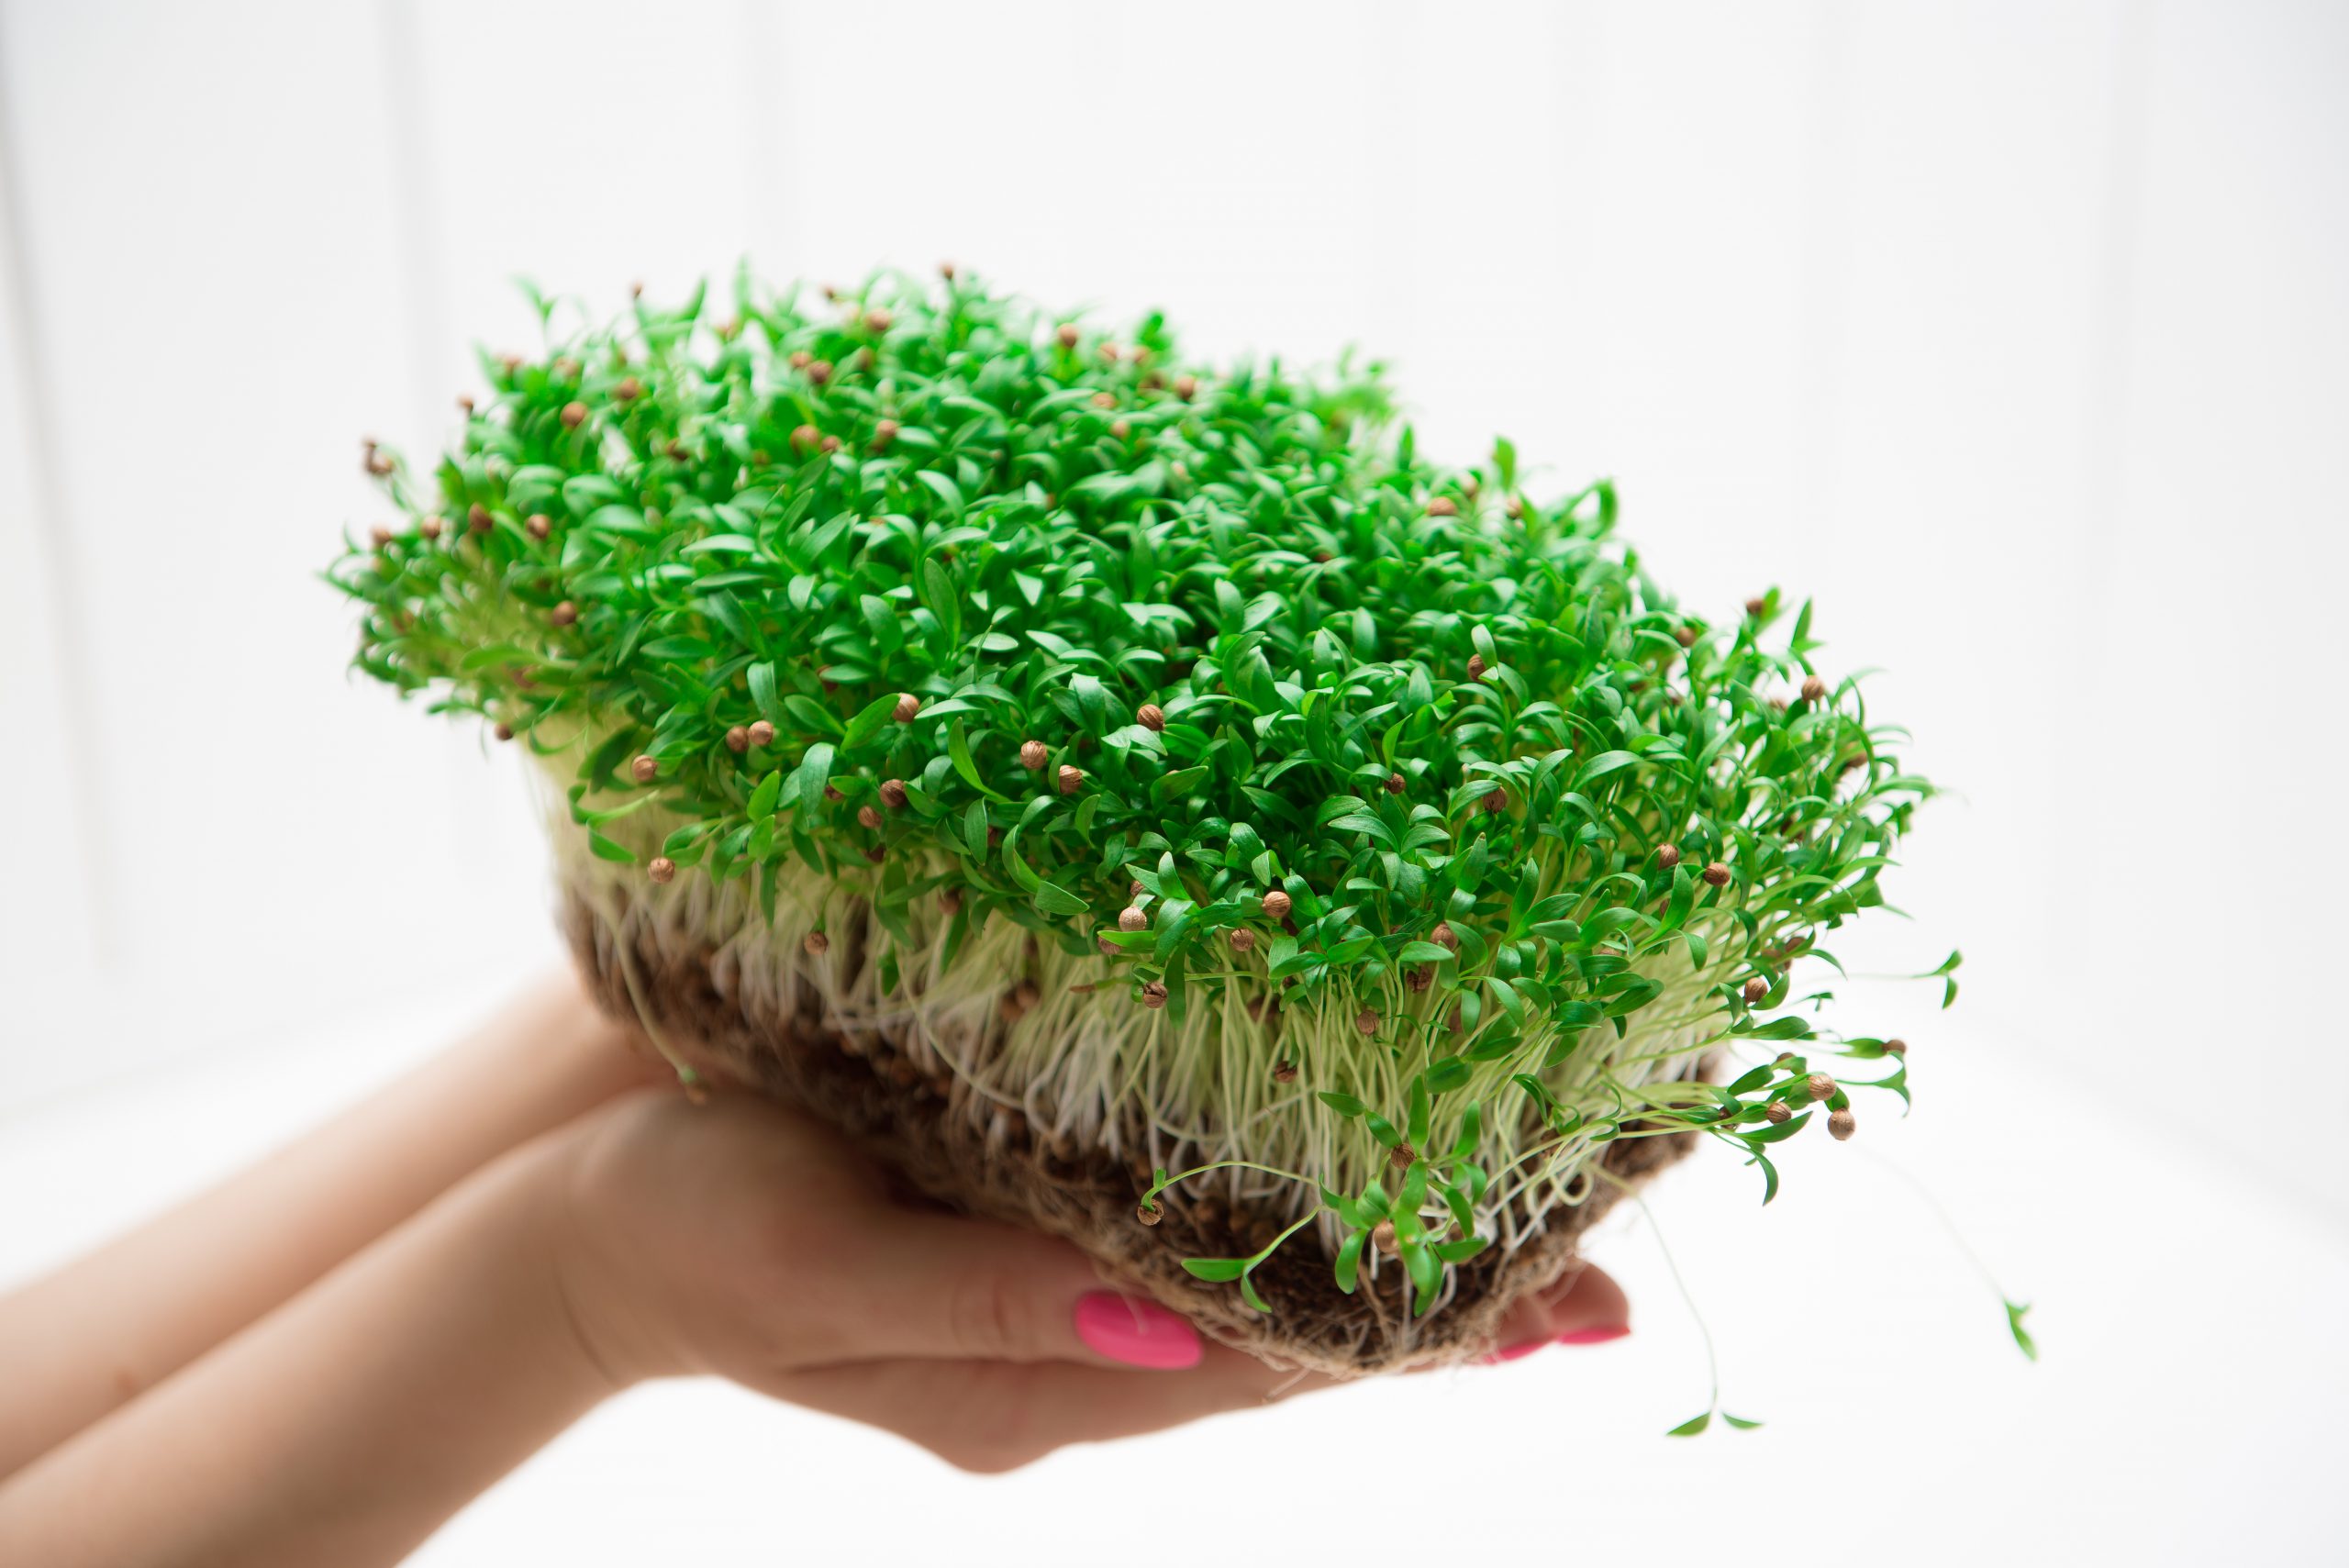
Microgreens are edible seedlings (a.k.a. sprouts). Think mini versions of your favorite vegetable greens, like kale, arugula, and broccoli (though there are far more varieties to choose from besides these).
You may have seen microgreens at some restaurants or grocery stores. They’re often used to garnish entrees and salads, and they can be just as decorative as they are delicious— with a variety of colors besides green like pink, purple, yellow, and blue, all depending on the variety you grow. A pinch of these sprouts will add great flavor to meals and no bitterness whatsoever, unlike full-grown greens.
To grow this miniature vegetation, one must fill a shallow flat or tray with their soil of choice. Next, seeds for your desired microgreen variety are densely (yet evenly!) scattered onto your soil, then very *lightly* covered with a dusting of soil. Or, they can be pressed very gently into the soil with your fingers or palms. These are then watered in, grown, easily harvested as needed, and preferably eaten in less than a week!
Is that all there is to grow microgreens? Not quite. We have a more intensive how-to on microgreen growing later in this article, so keep reading.
Types of microgreens you can grow
Before diving into your first microgreens adventure, you’ll need to choose what kind of microgreen you wish to grow. Luckily for you, the possibilities are endless. (Well, almost endless…)
- Arugula
- Alfalfa
- Asian greens (bok choy, tatsoi, etc.)
- Barleygrass
- Beet greens
- Broccoli
- Buckwheat
- Chard (Swiss, Rainbow, etc.)
- Kale
- Kohlrabi
- Pea shoots
- Popcorn shoots (corn microgreens)
- Sunflower greens
- Wheatgrass
Tools for growing microgreens
One of the most appealing things about microgreens? You hardly need any tools or equipment to grow them— so leave those gardening gloves, rake, and hat in the shed.
Here’s a quick list of the items you’ll definitely need to get started:
- Microgreens seed (about one pound is ideal for several harvests)
- 1020 Seed tray or flat (or any shallow/wide soil container with good drainage)
- Microgreens soil mix (must be very fine-textured)
- Grow light (if you don’t have a porch or south-facing window)
There are other tools besides these that you might want to get before growing. These aren’t 100% “required” for microgreen growing, though. These may be:
- Small fine spray bottle or mister (for watering)
- Small air circulation fan (reduces disease)
- Stainless steel scissors or shears (for harvesting, if you don’t own any)
- Spice shaker (to help you with even and easy seeding – or, try this incredibly convenient drop seeder)
- Heat pad (optional and dependent on microgreen variety)
Some important tips about microgreen growing tools: you might find seeds sold through some seed companies that are “designated” microgreen seeds. While these are specifically well-suited for microgreen growing, that doesn’t mean you can only use that seed and nothing else.
For example you can use seeds for growing full-size broccoli as broccoli microgreen seeds, too. However…there are advantages to buying microgreen-specific broccoli seeds. The seed will be priced better for microgreen production (higher amount of seeds per ounce or per pound). Since you’ll be purchasing bulk seed bred for dense-growing, rather than a small packet of seed bred for full-size broccoli production, you’ll get better benefits from purchasing microgreen seed.
Some growers also like to experiment with different types of seeds that aren’t typically thought of as microgreens. For example I’ve tried growing cabbage, radish, and even rutabaga microgreens because they’re quite similar in appearance (and even related to!) some of the most popular microgreen sprouts, like arugula, broccoli, and bok choy.
That said, it can be fun to explore some of these other types of seeds or varieties for yourself. If you’re feeling adventurous and confident, try something new!
Best soil for microgreens
I can’t emphasize enough the importance of drainage and using fine soil when growing microgreens, especially very small-seed microgreens. For larger-seeded sprouts (like buckwheat, beets, and peas) this is not so much a concern, and they will require soil of some sort.
All your little seedlings will be very crowded (as they’re supposed to be), but waterlogging can bring in some serious disease problems that will quickly and easily kill your seedlings— like damping off, for example. This is why a less “chunky” and finer soil is needed. Or, you can go with totally different media— a lot of media for hydroponic growing like coir pith, lava rock, and others are suitable for those tiny, tiny seeds (but less so for larger seeds).
If your soil of choice isn’t fine or light enough, your seedlings may have a hard time growing through the medium and producing uniform quality (or beauty). If you can’t find a microgreen-formulated soil, you can take any growing soil and push it through a screen or filter to remove larger pieces that could interfere with your sprouts’ success.
Otherwise, for pre-made soil that’s ideal for sprouts, you can purchase your own microgreen soil mix here. If you want to try going “soil-less,” here are some great options that hydroponic growers use, but which can be great for microgreen growers, too (though you’ll need to make sure they fit your chosen seed tray).
How to grow microgreens
Now that you have all your microgreen growing equipment together, it’s time to get your hands dirty. Here are some comprehensive steps to get you started growing any type of microgreen, and in any space.
- Step 1 – Prepare Microgreen Space
First things first: you’ll need to prep the space where you plan to have your microgreens sprout, grow, and be harvested. Make sure it’s easily accessible!
This can be a shelf or cubby space where your grow light is set up and ready to go. Or, it can be a sunny windowsill indoors (preferably south-facing) or a protected porch area during warmer weather. Be very sure to take your microgreen variety’s temperature needs into consideration! Some like hot temperatures, others will not.
For example: beet or buckwheat microgreens might need a little extra warmth to sprout in early spring. You won’t want to put them outside in the cold anywhere for a successful crop, or near a cold window, at least not for a while. Placing a heating pad under your seed tray can help them sprout a little faster if that’s something you want.
Obviously, make sure the space you prepare has plenty of room to hold the tray, flat, or another container you plan to use.
- Step 2 – Prepare Microgreen Container
Take your chosen microgreen container and fill it with a generally very shallow layer of soil, about 1 inch thick at the most. Again, it bears repeating: your microgreen soil texture should be very fine and light, almost like powder!
The best-desired thickness of the soil may depend on what microgreen seed you’re using. A very tiny seed, like arugula, will need less soil to germinate (another word for “sprout”). On the other hand, large seeds like chard or beets will probably need the full inch of soil to germinate.
- Step 3 – Scatter and Cover
Wondering why microgreens need a different type of growing container? Here’s why: you’ll want a shallow or “open” sort of planting container so you can easily scatter your microgreen seeds in this next step. This is why I recommend something like a spice shaker for easy and accurate planting, too.
That said, how many seeds should you plant in each tray? Well, it all depends on what type of microgreens you’re growing. But long story short, you’ll need more than you can count!
Generally speaking though, you’ll need less if your seeds are larger (like peas, chard, and others) but more if your seeds are smaller. Ultimately, there’s no set amount or formula you must follow. .
If you’re uncomfortable “eyeballing” how much seed you’ll need per tray, here’s a quick guide to seeding ratio amounts per 10” by 20” tray, which is the standard growing tray size in the industry. (But unless your seed packets are otherwise marked, you may need a digital weighing scale to weigh your seed amounts down to the ounce!)
- Arugula – 2 oz. per tray
- Asian greens (bok choy, tatsoi, etc.) – 2 oz. per tray
- Beet greens – 1 oz. per tray
- Broccoli – 2 oz. per tray
- Buckwheat – 1 oz. per tray
- Chard (Swiss, Rainbow, etc.) – 1 oz. per tray
- Kale – 2 oz. per tray
- Kohlrabi – 2 oz. per tray
Need more guidance for the right microgreen seeding density?
For now, here’s some seeding words for the wise: whatever size your seed, sow it as densely in your grow tray atop your soil as possible, but take care that seeds aren’t “piled” all over each other in clumps. Rather, you’ll want seed to be laid out in one single layer instead, and preferably with the seed touching or as close to the other seed as possible.
Some clumping can be allowed with very small seeds (like arugula or broccoli) while larger seeds should be spread out more evenly if you see clumping. Again, a salt or spice shaker (with the right sized holes for your seed, of course) makes this job much easier! Otherwise, you can use your hands or a spoon to scatter your seed, whatever you feel is easiest.
Once the seed is evenly spread and you’re satisfied, very gently press all the seeds into the soil with the palms of your hands or your fingers. If your seeds are larger sized (like buckwheat, for example), it helps to sprinkle another thin layer of soil on top of them before the next step.
- Step 4 – Spritz & Water
After your seeds are all planted and covered, the next step (watering) is the easiest one— but make sure to do it right!
All plants need watering, including microgreens. But unlike your houseplants, these small and fragile seedlings will need a gentler approach to watering, which is why a spray bottle or “mister” is absolutely recommended. (Don’t use your typical watering can!)
Once seeded, water your microgreens gently with your spray bottle after you fill it with water. You won’t need much— just a little bit to make sure the soil is damp and stays damp for a while. Though don’t overdo it! Waterlogging is not good for microgreens. Watering a little less is better than watering too much, so start out with less water, to begin with and then increase the watering frequency if you notice things starting to dry out.
- Step 5 – Care & Nurture
Next, place your microgreens container in your desired spot so it can get the light it needs. As often as you can every day, check the soil. If it’s dry, spritz and water it again until it’s evenly moist. It’s perfectly acceptable to let the soil dry out completely before watering it again to avoid waterlogging. But don’t let it dry out for too long!
This is also the best stage to set up air circulation fans near your space. If you’re growing one or two trays, one small fan should be enough. Set it up about 4 feet away from your setup with the air current aimed at your microgreens. The purpose of this air circulation fan: it helps wick moisture away from your plants after watering, which can in turn reduce the risk of disease. It will also help your microgreens develop strong, straight stems as they get bigger.
As days go by you’ll watch your seeds slowly begin to sprout as you water them. This takes at around a week, though it can greatly depend on what type of microgreen seed you’re growing.
- Step 6 – Harvest and Enjoy
At around 2 weeks after your seeding date, most microgreens will be ready to harvest! Once your microgreens get closer to this harvesting stage, you’ll notice that you can start watering them less and less as their foliage gets larger, perhaps only once or twice per day.
Your plants should be about 2-3 inches tall with long stems and grow in a dense, thick mat. To harvest, gather a small cluster of sprouts gently at their tops with your fingers on your one hand, then snip away at their stems right above the soil with a clean pair of harvesting shears with your other hand.
Before placing them in a refrigerated container or bag, clean and remove the plant bottoms of any dirt, roots, or debris before storing them. You can also lightly spritz them with some water to clean them, then let dry for several minutes in a colander or strainer over your kitchen sink (or any other area you don’t mind getting wet).
Once harvested, make sure to eat them within a week. Sprinkle on sandwiches, salads, soups, or as a garnish— whatever you like!
Are microgreens good for you?
After your proud growing work is done and you’re enjoying your first cutting of tasty microgreens, the thought may cross your mind: are microgreens healthy? And if so, how healthy are they, exactly?
Microgreens don’t just add a little tangy vegetal flavor to your meals. They also add a ton of nutrients, too. In fact, the microgreen form of any vegetable (whether it’s pea sprouts, arugula, or broccoli) tends to be way more nutrient-dense compared to the same amount of that same vegetable when it’s fully grown!
All microgreens are rich in fiber but are also plenty high in vitamins, minerals, and antioxidants. Antioxidants can cut down on certain health risks like inflammation, heart disease, cancer, and more. Microgreens of the “brassica” vegetable family, like arugula, broccoli, cabbage, and many others, are high in sulforaphane, an especially well-known antioxidant that’s a potent cancer-fighter.
Grow into your passion
Though just about anyone can grow microgreens, their amazing taste, appearance, and health benefits make them worth the effort more than four times over!
Sure, microgreens are simple and easy to grow and are the perfect thing for beginning growers to learn. Still, advanced growers and expert gardeners are just as likely to grow them because they are such an exceptional food— bringing extra nutrients, flavor, health, and beauty into the home of anyone who cares to grow them.
How to Grow Sunflower Microgreens