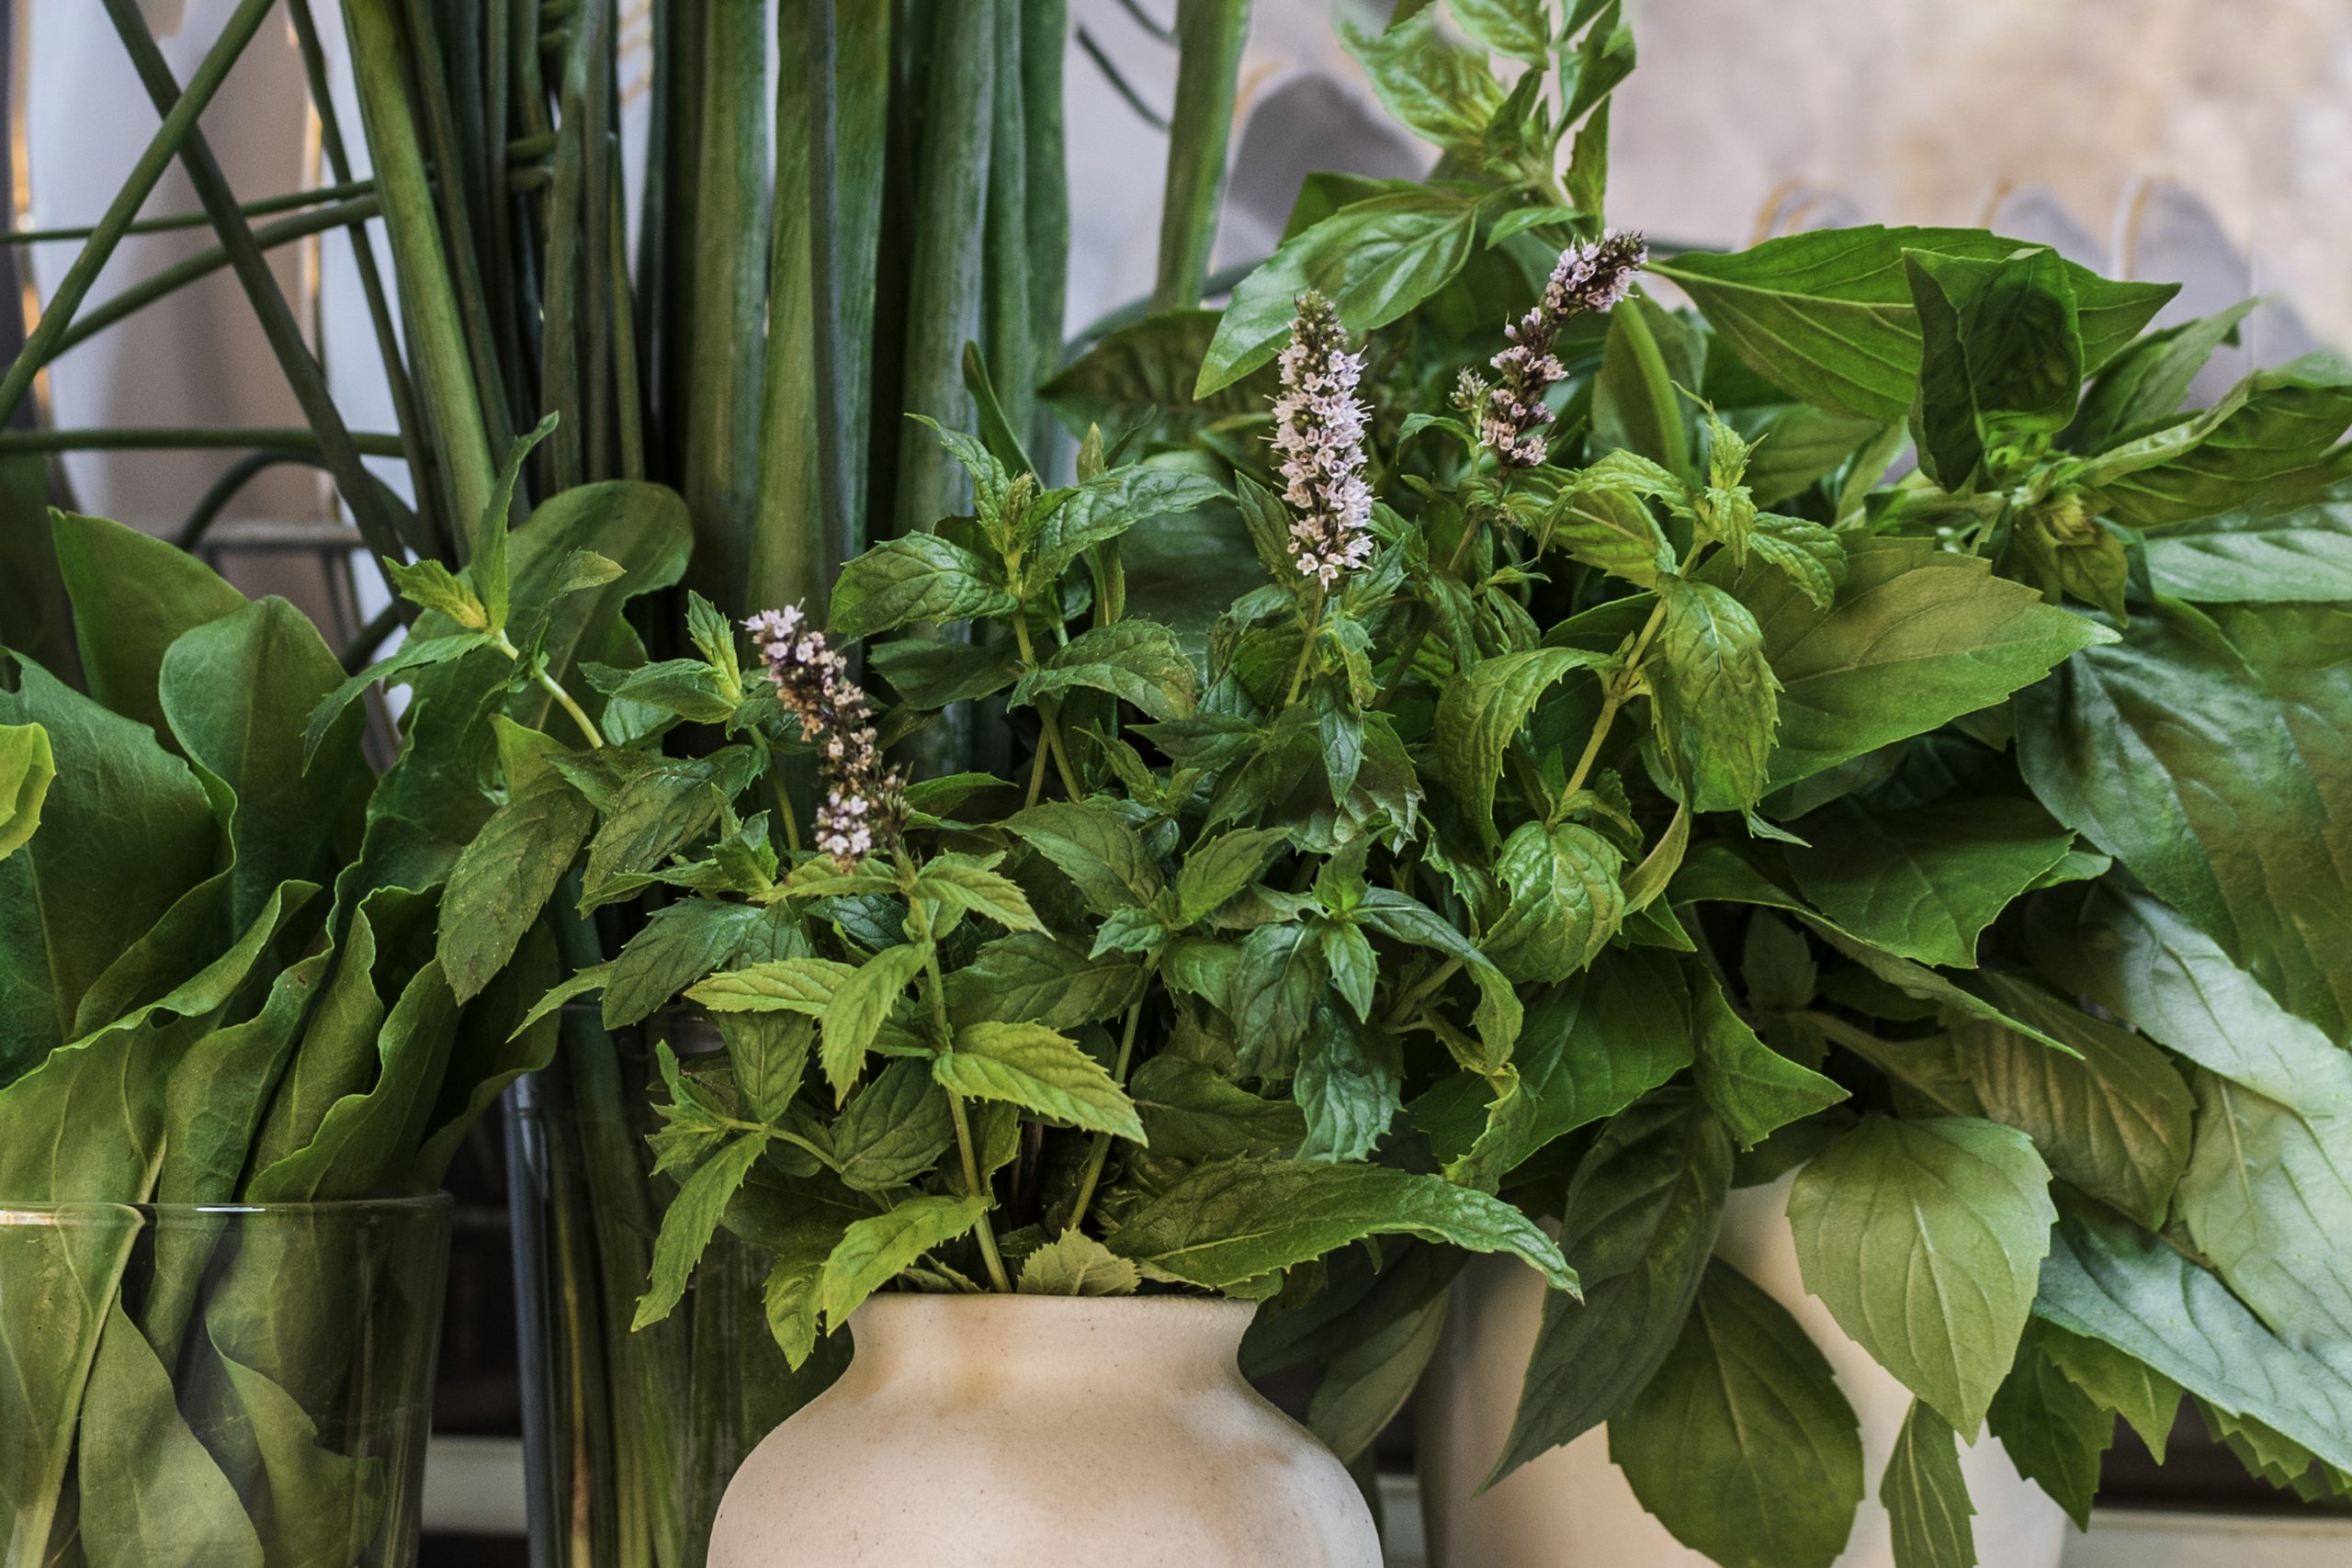
If you’re just getting started with growing microgreens, arugula is a great place to start. It’s a plant that both chefs and home cooks like to use because it has a tangy, nutty taste that makes most dishes more interesting.
It also grows quickly and is usually ready to harvest in about ten days. The seeds cost about $15/lb, which is not too much. But you can also buy seed packets at your local garden store and grow these greens on a smaller scale. If you like them, choose a larger amount of seed the next time you buy them.
Alright, let’s get growing!
Materials
Growing arugula microgreens doesn’t take much, but you can make it more complicated if you want to. If you’re growing enough to sell, you’ll want to use the recommended items I’ve linked to. If not, just look around your house and you should be able to find most of these things.
1.Container (I use 10×20 plant growing trays)
2.Potting soil (I use a 50/50 mix of organic potting soil and coconut coir)
3.Light (I use a 4′ T5 CFL grow light)
4.Seeds
5.Spray bottle
Planting
There are three things you should do when you plant:
1.Make sure the surface of your growing media is flat and smooth
2.Make sure you have moistened the soil adequately
3.Make sure you use the right amount of seed
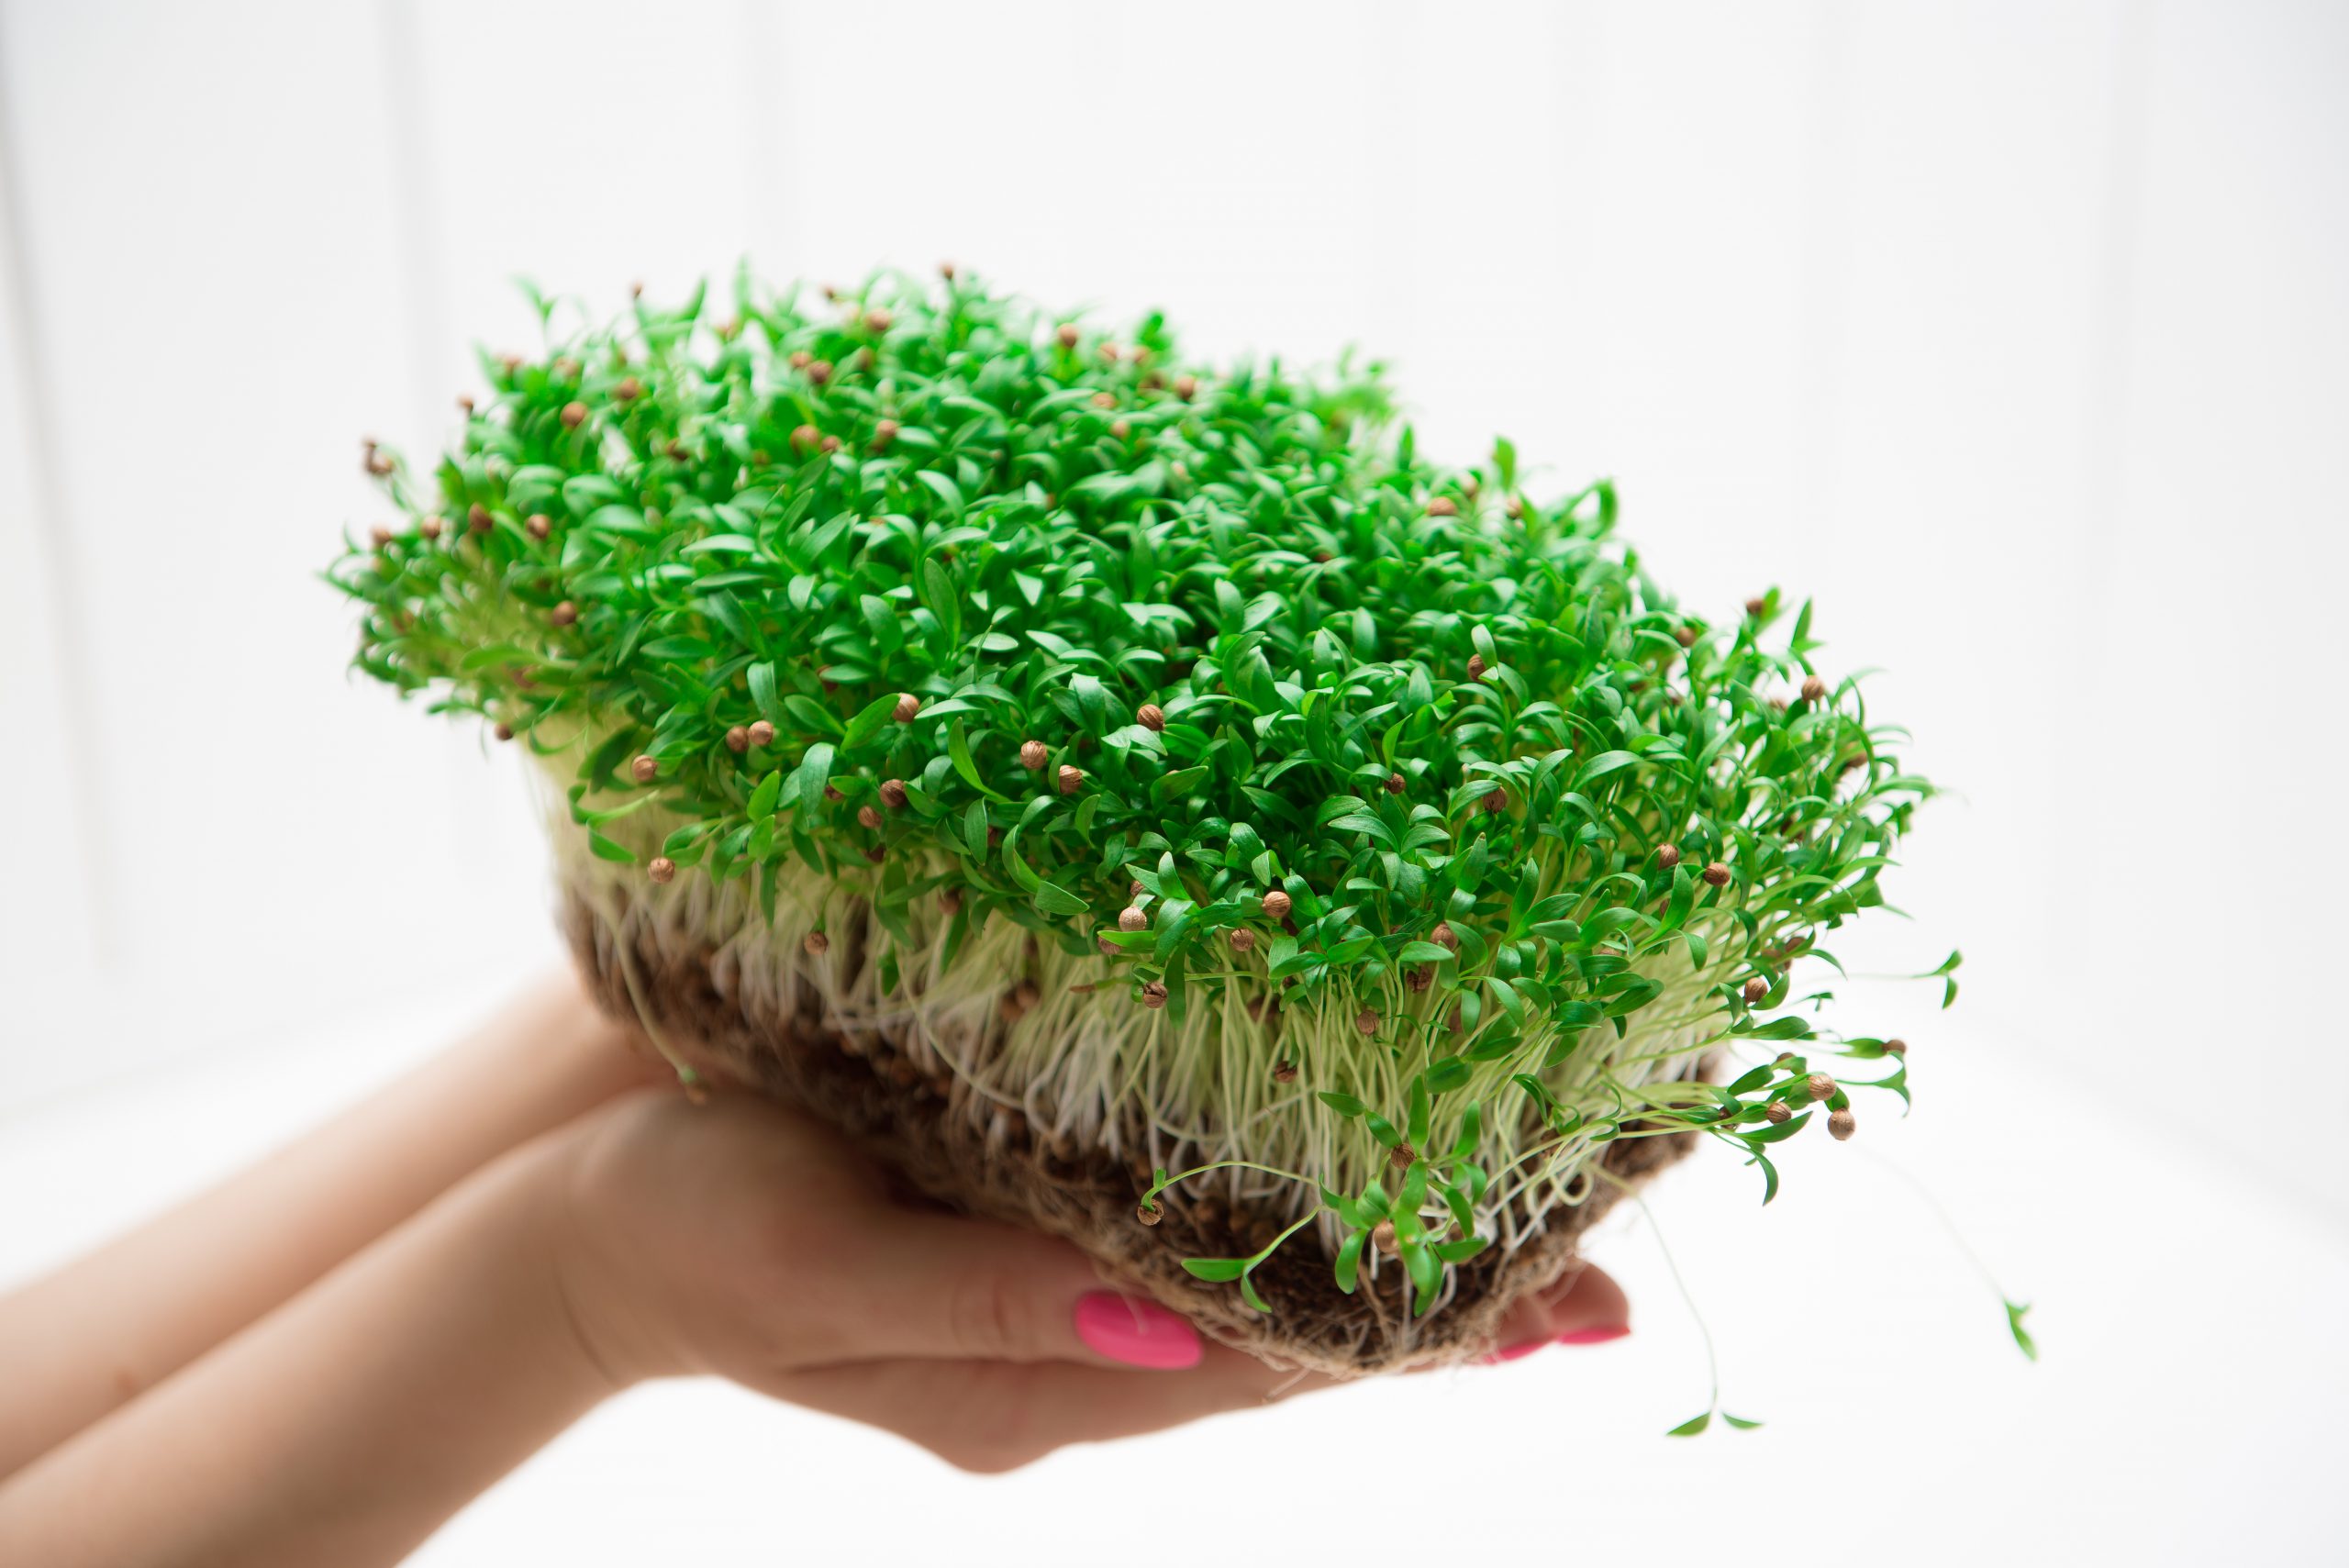
I usually plant about 1oz (30ml) of arugula seeds in a 10×20 plant propagation tray. This makes it easy for me to spread the arugula seeds out over a large area. If you are using a different container, look at the picture below and try to get the same level of density.
At least 1″ of soil or growing medium should be used, but 2″ is recommended if you want to grow arugula for more than 8–9 days. This is when the true leaves start to grow and the plants stop getting their food from the seeds and start getting it from the soil.
After you’ve planted, put something over the container that will keep all the light out. I usually use an upside-down 10×20 tray, but you can get creative as long as there is no light getting into the container. This is what you need to do to give your vegetable seeds the best chance to grow.
After covering your container, put it in a dark place that is about 70°F (21.1°C) or cooler.
Growing
Every day, take the lid off your container and use the spray bottle to mist your seeds once or twice. Don’t go too far, because that’s how mold grows. Make sure they’re growing the right way (arugula takes about 3 days).
Once they’ve started to grow, keep the soil moist by giving it more water. As a general rule, the deeper your growing medium, the less often you need to water it. They won’t use this water much until days 8 and 9.
Growing Tip:
Arugula grows roots quickly and makes a lot of tiny root hairs that people often mistake for mold. Even though they look the same, you can tell which ones are root hairs by how they are spread out and how many of them are around the tap root of your seedling.
Your microgreens will be ready for the light between the fourth and fifth day. Cover them up and move them to a place with a lot of light. If you leave them outside, you’ll have to water them more often because the sun shines so brightly. If you are growing indoors, you won’t have to water much more often.
Harvest
Your greens are done when they are about 2 inches tall and have bright, open leaves. Time to gather the crops.
Cut your greens about 1/4 to 1/2 inches above your growing medium so you don’t have to wash them. You’ll have to cut off a bit of root to make sure you don’t also cut off any extra dirt or seed husks. Washing microgreens takes a lot of time and cuts their shelf life by about half. But trust me, it’s worth the trouble.
Make sure they are as dry as possible before putting them away. If you didn’t wash them, they should be pretty dry, unless you picked them up right after you watered them (avoid this). I put them in a zip-top bag with a little bit of air in it so they don’t get crushed. They’ll last for 7-8 days before they start to wilt, so enjoy them while you can.